7 Things You Only Figure Out After 10 Hours of WARDOGS
Listen to this post/10:24Not a human recording. Generated from this post's text with Kokoro-82M, an open text-to-speech model run locally — voice am_michael.
Read this after your first ten hours and check how many you already found on your own.
While playing the WARDOGS beta, I realized that there are many little learnings along the way. Not explained in the initial tutorial. Not because it's hidden necessarily, but because it's the kind of stuff you only notice when something clicks in match 14 and you think "wait, that's how that works?"
Quick context if you're new to it: WARDOGS is BULKHEAD's tactical FPS, published by Team17, and it hits Steam Early Access on September 10, 2026. Up to 100 players in three teams, fighting over a randomized Control Zone inside a much bigger map. First team to 100 points wins. There's no class select screen. You buy your kit each life with cash that carries over between matches, and six separate XP tracks (Assault, Medic, Recon, Support, Driver, Pilot) that quietly track what you actually do. If you've played Arma Reforger or Battlefield, you'll recognize pieces of both, but the economy is what makes it different.
Everything below is from the beta, so exact numbers and unlock levels can shift in Early Access. The mechanics should hold.
1. You can buy supplies out of dropped crates, and reselling them to a FOB is free money and XP
This is my favorite one for the beginning, because it's a genuine win for everybody involved.
Pilots and drivers can carry crates and fill them with supplies. They put a markup on them, default is 25%, so buying from a crate costs you a bit more than buying at base. Doesn't matter though. Here's the loop:
- Buy the supplies from the crate.
- Walk to your FOB main station (in the very center of the square on the map) & interact.
- Right-click the supplies in your inventory to insert them into the FOB.
- You get exactly that dollar amount back as the insertion reward, plus XP.
So the markup costs you nothing in the end, and you got paid in XP for a ten second walk. The pilot who hauled the crate out there gets their small cut. The FOB gets stocked. Nobody loses.
This gets especially useful for pilots who haven't unlocked the bigger helicopter yet. They can't fly a full pallet out, so they're stuck doing the small crates. That's fine. Those small crates are exactly what this loop runs on, and it means the crates sitting around near your FOB actually get used instead of just decorating the landscape.
Works for the normal build supplies, mechanical supplies, ammo supplied and fuel. Get all of it flown out in crates, and then anyone on the ground can convert it into a stocked FOB.
2. Your weapon type decides which XP track you're leveling
I noticed this embarrassingly late in the beta.
Kills feed the XP track that your weapon belongs to. Not the role you think you're playing. The weapon.
- Assault rifle (an AK, for example) → Assault XP
- SMG → Medic XP
- LMG → Support XP, the building track
- Sniper → Recon XP
And so on. Which means "leveling Medic" doesn't have to mean spending an evening reviving people. Buy an SMG, play like you normally play, and the medic track fills up on its own.
Once you know this, kit choice becomes a progression decision, not just a combat one. If a track is close to something you want, pick the gun that feeds it.
3. Always buy binoculars. Especially early
They're cheap, and spotting enemies pays Recon XP in addition to $$.
Recon matters more than it looks like from the outside. Some of the best weapons in the game are behind that track, in my opinion. The Mosin in particular is disgustingly effective for what it costs. So you want that track moving even if you never plan to snipe.
And spotting isn't only XP. You get paid when a marked target dies, and you get paid even if someone else kills them. So if there's a sniper on your team, they can see your marks and take the shot, and a decent chunk of money lands in your pocket for doing nothing but looking at a guy through binoculars.
Mark everything. Infantry, vehicles, anything that moves. It's one of the highest value-per-dollar purchases in the early game.
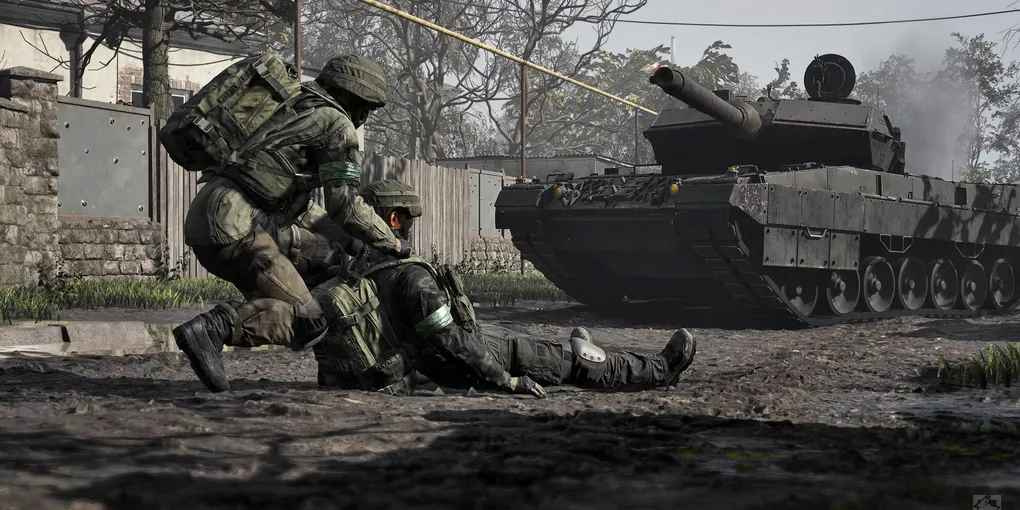
4. Being down is not the same as being dead. Don't give up
You can lie there for a long time before you have to give up. I never measured it exactly, but it's well over a minute.
And the thing about this game is the battle shifts constantly. The situation that looked completely lost when you went down can look totally different in 30, 40, 50 seconds. Somebody pushes, somebody flanks, and suddenly a teammate is standing over you with a defib.
This matters most when you're running an expensive kit. If you weren't looted yet, waiting it out is worth real money. Putting up a bribe can help motivate others to take some risk too.
My rule: unless I'm needed on a new spawn right now, I don't press give up. I just wait and see. Worst case you lose 60 seconds, but most of the time you get revived, save your kit and also don't need transport back to the zone.
5. Use the pre-match time to decide who buys the FOB and where it goes
When the server rolls straight into a new round, you get a bit of time before things actually start. Use it.
You can already see where the zone is and where the towers are. So decide now:
- Who is buying a FOB?
- Where does it go? "I'm buying, putting it on tower 3." Say it in voice, put it in chat.
It's often worth having more than one. Start with a tower position, and maybe a second one next to it. Depending on where the Control Zone lands, there are a couple of spots on the maps we played that are worth grabbing. The church is one of those. Or the apartment buildings. Just put it inside the CZ (capture zone), not outside of it.
I had several rounds where nobody bought a FOB at all. Everyone piles into the CZ, and there's no FOB to establish. If you miss that window at the start, establishing one later gets significantly harder, because now you're doing it under fire.
What you actually want in the opening minutes: one or two squads, at least 5, at one location. Get resources there, drop the FOB, have two or three builders start building it out, and secure it. That's it. That's a good start. The FOB is what lets you park your spawn vehicle somewhere safe later on, which is the thing that keeps you in the fight for the rest of the match.
There's a lot more to say about building specifically. That's a separate post.
6. Give your squad a job
WARDOGS is no Arma, but some coordination can still make a big difference.
If you can get two or three squads talking to each other, split them by discipline. Squad Hotel is the building squad, for example. Builders go there, supply runners go there, and they coordinate construction and logistics between themselves. Another squad is the run-and-gun squad. That's where people who want to push go, and they coordinate where they're going (most likely the HZ) and shout out where the enemy is moving.
The reason this is so useful isn't just organization. It's that everyone knows who to call.
When you're a builder and your FOB is getting invaded, you don't have to broadcast into the void and hope. You know exactly which squad has the people with guns, you jump in, and you say "we're getting hit at this tower, come help." That's a 5 second communication instead of a 30 second one, and 25 seconds is the whole fight.
Squad A does this, squad B does that, etc.. Simple and effective. Not everyone will partake, but even just a few coordinated peeps can make a big difference.
Even if no organization like this is done, use the team text chat at least. Let your team know when the tower or FOB you've been building out is getting attacked. Let them know when you need supplies. Let them know when you're pulling the Hotzone...
7. Notify your team before you pull the HZ
When you pull the HZ either via the tower mechanic or via the buildable rig in your FOB that takes fuel to run, then notify your team at least a minute before.
To make pulling the HZ efficient, you need to secure the FOB or tower and actually have people in there. Ideally before pulling the HZ to it.
That's the list for now. There's a lot more, especially around building, and I'll probably do a separate post on that once I've had proper time with the Early Access build.